
DNS Proxy
To configure the DNS proxy, perform the following steps.
Steps
· Click Next icon on the Firewall page or click General Settings. The General Settings page appears.
· Click DNS Proxy. The Domain/Host Mapping, DNS Forwarder, and DNS Cache sections become available, see figure below.
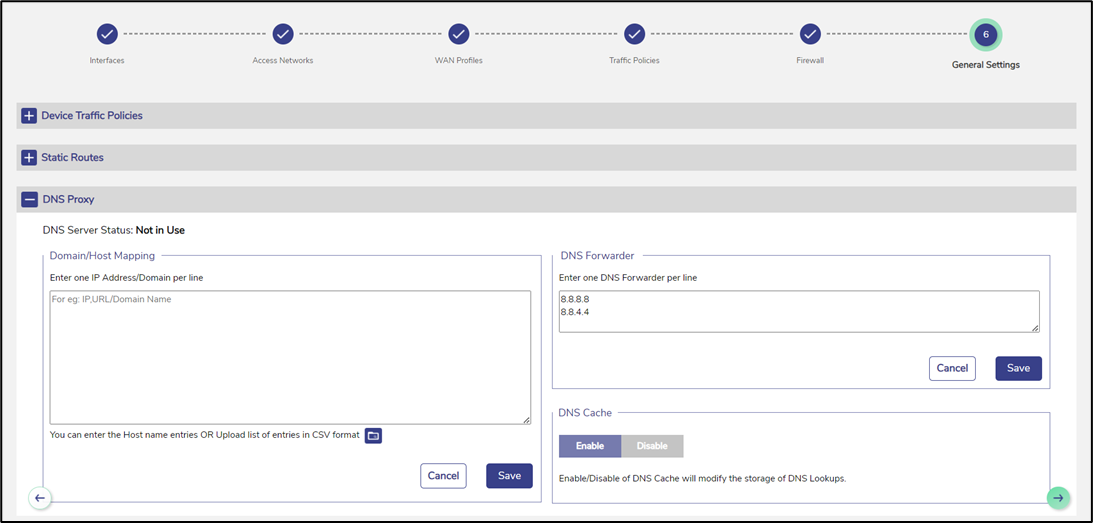
DNS Proxy
· To enter data in the respective fields, see table below.
Fields | Description | Configuration |
DNS Server Status | If any Access Network is using the DNS proxy, then the status In Use is displayed. | To configure the DNS proxy, perform the following steps. Steps · Click Access Networks. The Access Networks page appears, see Figure Access Networks · Click Pencil icon corresponding to the network under the Action section on the Access Networks page. The Updated Connected Network page appears, see Figure Update Connected Network. · Enter the DHCP Gateway IP address in the DNS Server IP field under the DHCP Settings section. · Click Save. The network is updated, and a successful message is displayed, see Figure Network Updated Successfully. · Click OK. · The status In Use is displayed, see Figure DNS Server In Use. · By default, the status Not In Use is displayed. |
If the Access Network is not using the DNS proxy, then the status Not in Use is displayed. | To remove the DNS proxy, perform the following steps. Steps · Click Access Networks. The Access Networks page appears, see Figure Access Networks. · Click corresponding to the network under the Action section on the Access Networks page. The Updated Connected Network page appears, see Figure Update Connected Network. · Delete the DHCP Gateway IP address in the DNS Server IP field under the DHCP Settings section. · Or, · Enter 8.8.8.8 in the DNS Server IP field under the DHCP Settings section. · Click Save. The network is updated, and a successful message is displayed, see Figure Network Updated Successfully. · Click OK. The status Not In Use is displayed, see Figure DNS Server Not In Use. | |
Domain/Host Mapping |
| Enter an IP address and suffix domain on a single line. Click Save. Or, To configure multiple domains and host mapping, enter the IP address and suffix domain on a distinct line, and perform this step on every line. Or, The user can upload the list of the domain/host mapping also in the Comma Separated Value (CSV) format. For this, click Upload Configuration icon and upload the CSV file. Click Save. |
DNS Forwarder |
| Enter only one DNS forwarder on every line. Click Save. |
DNS Cache |
| To enhance the DNS lookups, click Enable. |
Table DNS Proxy Settings
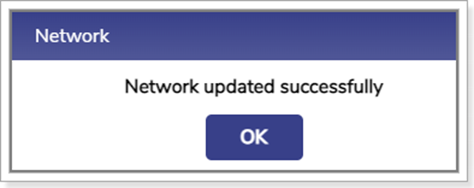
Network Updated Successfully
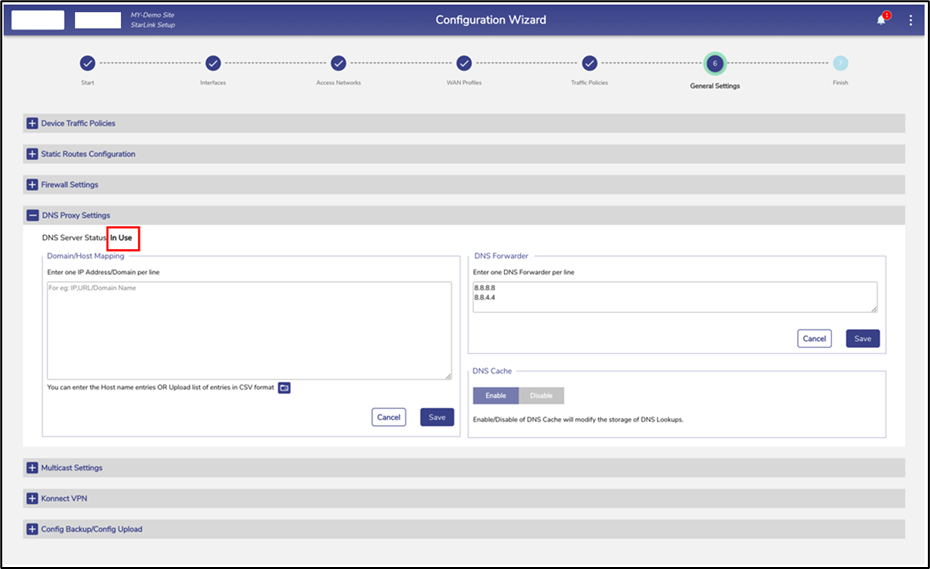
DNS Server In Use
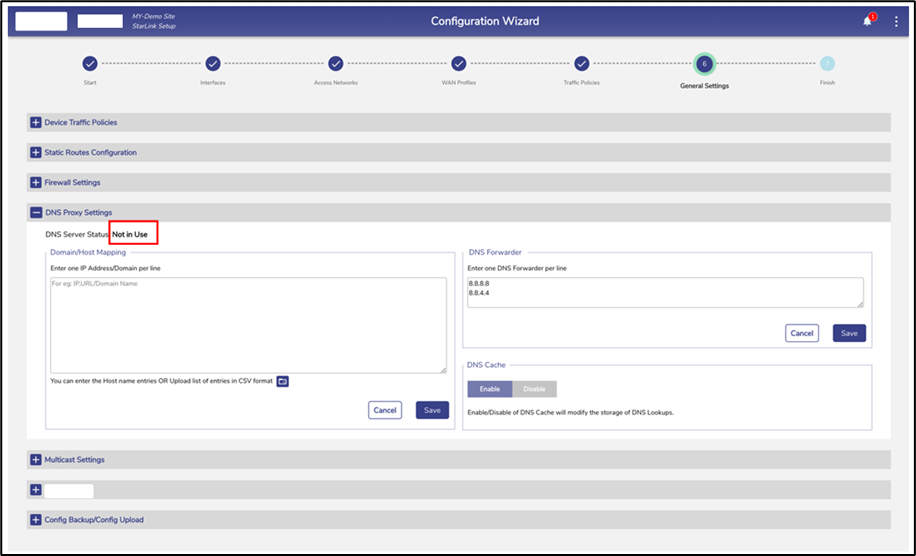
DNS Server Not in Use
The DNS proxy is configured.