
Invoices
Overview
The Invoices page provides a complete view of all billing records for organizations, including generated, sent, paid, and partially paid invoices. It enables administrators to track invoice status, monitor outstanding balances, and take actions such as regenerating invoices, downloading invoice files, or posting payments. By centralizing invoice management, this page ensures billing accuracy and helps organizations stay on top of financial obligations.
The Invoices screen is further divided into two screens namely, Subscription and Products (OneTime).
Subscription
The Subscriptions page offers a detailed view of all subscription-related billing activities, including active charges, additional fees, and payment records. It bridges the gap between service plans and invoices, ensuring that recurring charges and overage fees are reflected accurately in billing. This section gives finance teams and administrators a transparent record of how subscriptions translate into invoices and payments.
-20250817-192052.png?inst-v=fc00cdc5-bdd5-43fe-995f-cbc9596ecc79)
Subscriptions
The Subscriptions page lists all subscription invoices across organizations and provides tools to manage them.
Select the Organization from the dropdown menu.
The table can be filtered based on the Service Line Name, Plan Name, Invoice ID, Regular Charges, Invoice Amount, Invoice Balance, Payable On, and Status by clicking the dropdown menu to the right of the Organization.
The table can also be filtered based on the date. The options available are This Month, As of Today, and Proforma Invoices.
The Invoiced ($) field shows the total invoice amount generated.
The Balance ($) field shows the total outstanding balance.
The Invoice Details field shows the status counts of invoices:
Generated
Paid
Partial
Sent
The table consists of the following fields:
Invoice ID – Unique invoice number (clickable for details).
Org Name – Organization associated with the invoice.
Payable On – Due date for payment.
Regular Charges – Standard recurring charges billed.
Additional Charges – Any extra fees added.
Invoice Amount – Total amount of the invoice.
Invoice Payment – Amount received against the invoice.
Invoice Balance – Remaining unpaid amount.
Status – Current invoice state.
GENERATED – Initial state of the Invoice
SENT_FOR_PAYMENT – Once the invoice is APPROVED and sent to the customer
PARTIAL_PAID – Some partial payment has been received on the Invoice
PAYMENT_DONE – Full Payment has been received on the Invoice
Invoice Actions -
Click the
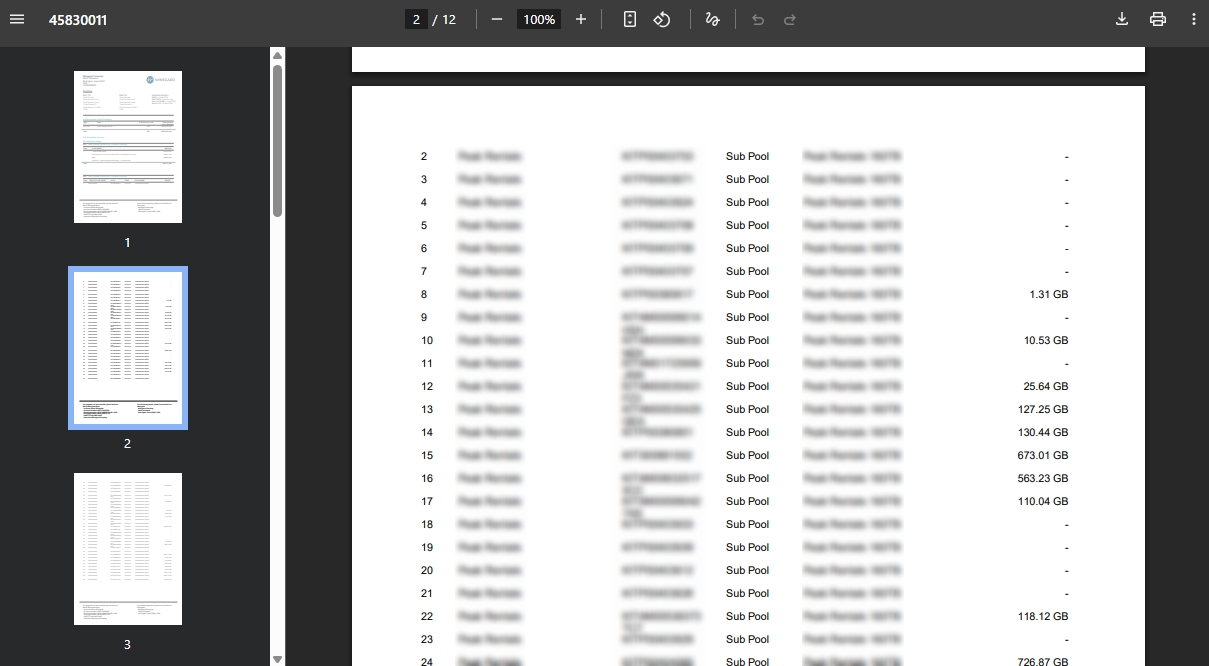
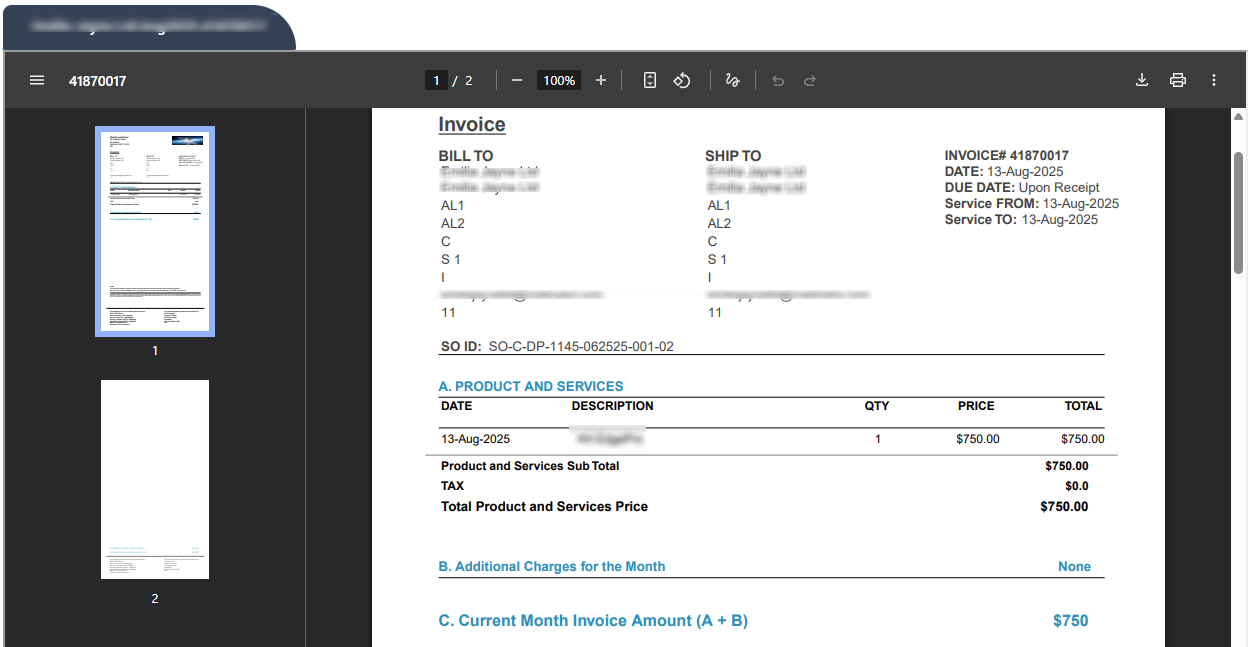
 View Invoice icon to view the invoice document. The invoice document can be viewed as shown below.
Click the
 Download Invoice icon to download the locally.
Click the
 Edit Invoice icon to edit the entries and modify the invoice amount.
Click the
 Export IPTs icon to export the invoice.
Click the
 Approve Invoice icon to approve the invoice.
The
icon indicates that the invoice has not yet been approved.The
 icon indicates that the invoice has already been approved.
Click the
 Send Invoice icon to send the invoice to the customer.
Click the Send to Customer radio button to send the invoice to the customer.
Select the required email address and click the Send Invoice button to send the invoice to that address.
Click the Send to Finance radio button to send the invoice to the finance team of the customer.
The
 icon indicates that the invoice has already been sent.
Click the
 Post Payment icon to post a payment to the selected invoice.
Note: Invoices are generated at the start of each month and account for the usage for that billing period. Any overage incurred during the month is automatically added to the invoice generated for the subsequent month.
Note: When a sub-pool is associated with an organization or sub-organization, the invoice is generated based solely on the price of the sub-pool. Any service lines under that sub-pool will have their usage details displayed in OrbitBills, primarily to help the end user monitor how much of the sub-pool’s total data has been consumed.
Users can view data usage for each individual service line associated with the sub-pool; however, billing for sub-pool plans is not performed at the individual service-line level. The service-line usage information is provided for monitoring purposes only.
%20(1)-20251008-182609.png?inst-v=fc00cdc5-bdd5-43fe-995f-cbc9596ecc79)
View Invoice
-20250818-062122.png?inst-v=fc00cdc5-bdd5-43fe-995f-cbc9596ecc79)
Edit Invoice
-20250818-063705.png?inst-v=fc00cdc5-bdd5-43fe-995f-cbc9596ecc79)
Send Invoice
Click the Regenerate Starlink Invoices button to regenerate the starlink invoices.
Click the
 Export Invoice Report icon to export the table data into a report.
Products (OneTime)
The Products (OneTime) tab provides visibility into all one-time product transactions linked to organizations. Unlike recurring subscription services, these products are purchased on a per-order basis, such as hardware, installation services, or add-ons. This tab allows administrators to monitor product invoices, track payments, and reconcile balances, ensuring accurate financial records for one-time sales.
-20250818-065525.png?inst-v=fc00cdc5-bdd5-43fe-995f-cbc9596ecc79)
Products (OneTime)
The Products (OneTime) page lists all invoices generated for one-time product purchases. It provides detailed billing, payment, and status information for each transaction.
Select the Organization from the dropdown menu.
The table can be filtered based on the Plan Name, Invoice ID, Regular Charges, Invoice Amount, Invoice Balance, Payable On, and Status by clicking the dropdown menu to the right of the Organization.
The table can also be filtered based on the date. The options available are This Month and As of Today.
The Invoiced field shows the total invoice amount generated.
The Balance field shows the total outstanding balance.
The Invoice Details field shows the status counts of invoices:
Generated
Paid
Partial
Sent
The table consists of the following fields:
Invoice ID – Unique invoice number (clickable for details).
Org Name – Organization associated with the invoice.
Payable On – Due date for payment.
Regular Charges – Standard recurring charges billed.
Additional Charges – Any extra fees added.
Invoice Amount – Total amount of the invoice.
Invoice Payment – Amount received against the invoice.
Invoice Balance – Remaining unpaid amount.
Status – Current invoice state.
GENERATED – Initial state of the Invoice
SENT_FOR_PAYMENT – Once the invoice is APPROVED and sent to the customer
PARTIAL_PAID – Some partial payment has been received on the Invoice
PAYMENT_DONE – Full Payment has been received on the Invoice
Invoice Actions -
Click the
View Invoice icon to view the invoice document. The invoice document can be viewed as shown below.Click the
Download Invoice icon to download the locally.Click the
Edit Invoice icon to edit the entries and modify the invoice amount.Click the
Export IPTs icon to export the invoice.Click the
Approve Invoice icon to approve the invoice.The
icon indicates that the invoice has not yet been approved.The
icon indicates that the invoice has already been approved.
Click the
Send Invoice icon to send the invoice to the customer.Click the Send to Customer radio button to send the invoice to the customer.
Select the required email address and click the Send Invoice button to send the invoice to that address.
Click the Send to Finance radio button to send the invoice to the finance team of the customer.
The
icon indicates that the invoice has already been sent.
Click the
Post Payment icon to post a payment to the selected invoice.
View Invoice
Edit Invoice
Send Invoice
Click the
Export Invoice Report icon to export the table data into a report.