
Manage Accounts
The user can create a user account and assign specific roles to access the EdgeOS applications. Additionally, they can also disable the user account, and change the login password with administrative rights. Other accounts will see Change Password option only in the menu.
Note: This menu item is visible to users with administrative rights.
Adding a User Account
The Add Account operation is available only for an administrator.
To add a user account, perform the following steps.
Steps
· Log on to the EdgeOS System. The home page appears.
· Click the menu icon. The menu appears.
· Click Manage Accounts, see figure below.
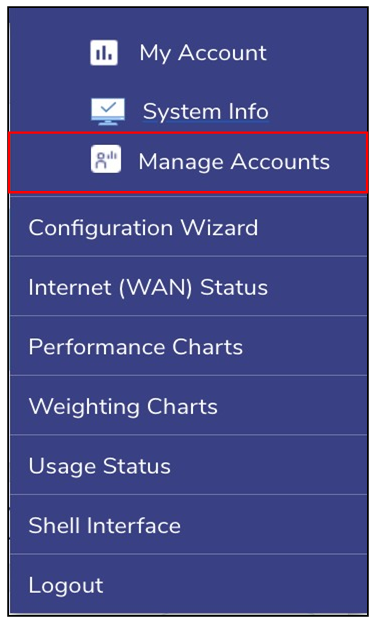
Manage Account
The User Account Management pop-up window appears, see figure below.
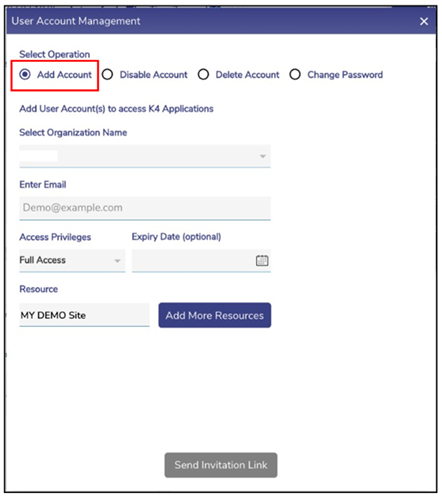
User Account Management
· To enter data in the respective fields, see table below.
Fields | Description |
Operation | Click Add Account. By default, the Add Account is selected. |
Organizational Unit | In the Organizational Unit list, click the name of the organization for which the user account is to be managed. |
This is the unique and operative email address of the user whose account is to be created. The email address is the username or login ID of the user. | |
Access Privileges | This identifies the access type the user wants to give to the account. It can be one of the following: |
| Full Access – This account has access to the entire EdgeOS Portal (read and edit) except Weighting Charts and Web Shell. Limited Access – This account has read only access to entire EdgeOS Portal and very limited editing capabilities. Read Only Access – This account has access to Internet Status and Usage Status screens only. |
Expiry Date | This identifies the date of expiry of the account. |
Resource | This identifies the Sites to which this account has access to. By default, the current site is pre-filled in the resource field. To add more resources, perform the following steps. Steps · Click Add More Resources. A new input field Select Resources appears, see Figure Add Resources. · Select the resources for which the user wants all access for the new account by clicking on the Select Resources drop down, see Figure Select Organization. |
Table Add Account
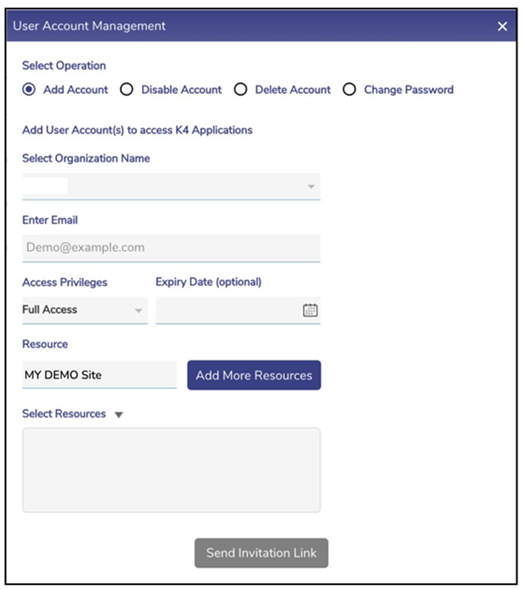
Add Resources
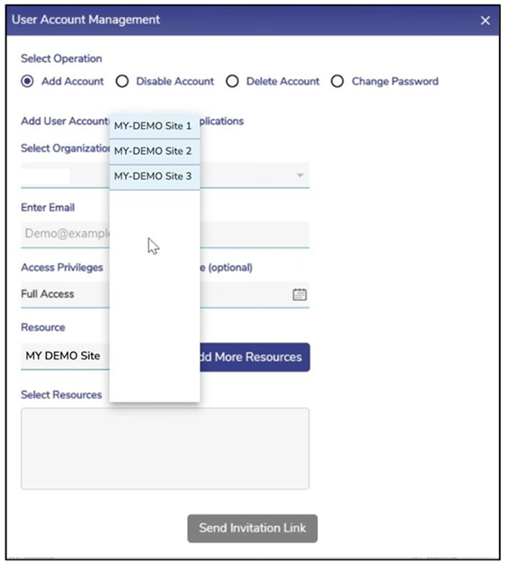
Select Organization
· Click Send Invitation Link.
The invitation is sent to the email address specified in the Email field, see figure below.

Email Confirmation
· Open the email and then click Confirm Account.
· The registration page appears, Figure Registration Page.
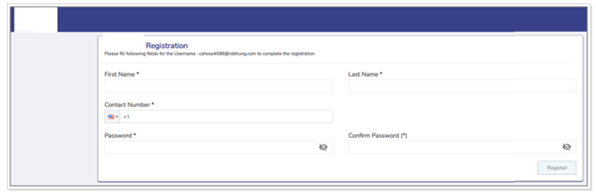
Registration Page
· To enter data in the respective fields, Table Add Account Registration Details.
Fields | Description |
First Name | Enter the first name of the user. |
Last Name | Enter the last name of the user. |
Contact Number | In the Contact Number list, click the country and then enter the valid contact number. |
Password | Enter the password of the user account. To view the password, click the Eye icon. |
Confirm Password | Re-enter the password for confirmation. To view the password, click the Eye icon. The Register button becomes available. |
Table Add Account Registration Details
· Click Register. The user is registered, and a successful message is displayed, see figure below.
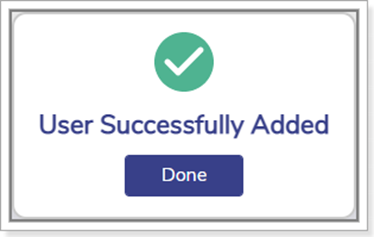
User Added Successfully
· Click Done.
Using the login credentials, the user can access the EdgeOS applications based on the role assigned to the user account.
Disabling a User Account
The Disable Account operation is available for an administrator.
To disable the user account, perform the following steps.
Steps
· Log on to the EdgeOS System. The home page appears.
· Click the menu icon. The menu appears.
· Click Manage Accounts.
· The User Account Management pop-up window appears. See figure below.
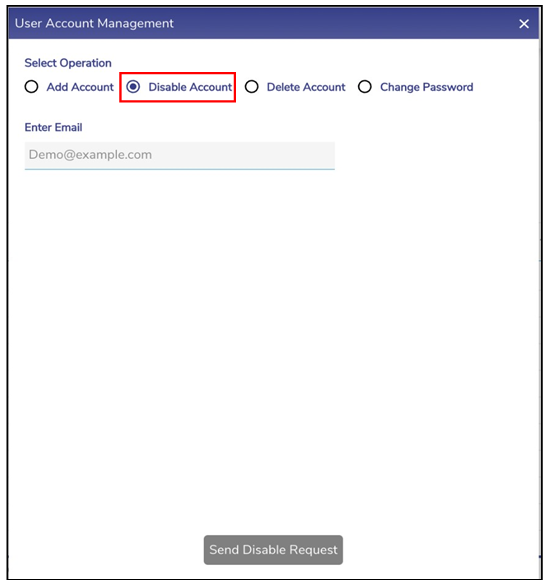
Disable Account
· To enter data in the respective fields, see table below.
Fields | Description |
Operation | Click Disable Account. The User Account Management pop-up window appears, see figure below. By default, the Add Account is selected. |
Enter the email address to be disabled. The Send Disable Request button becomes available. |
Table Disable Account
· Click Send Disable Request. The user account is disabled, and a successful message is displayed, see figure below.
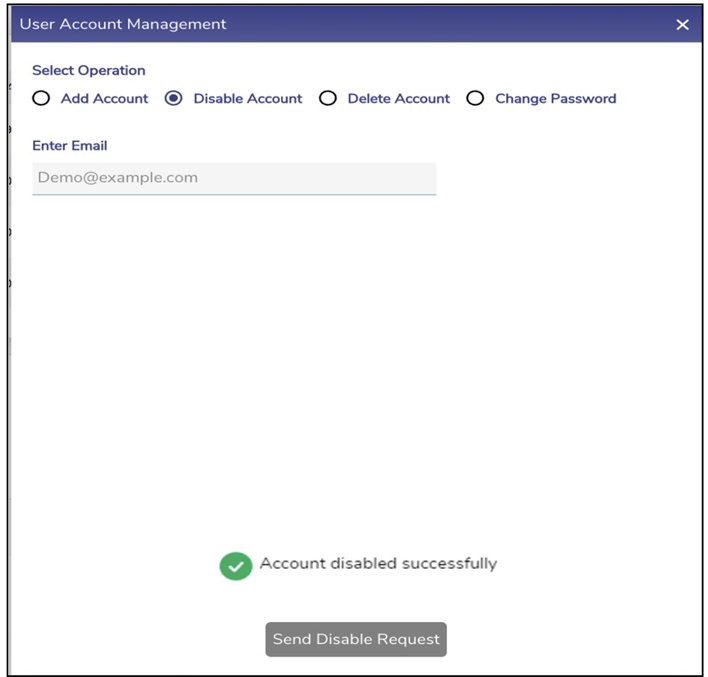
Account Disabled Successfully
Therefore, using the login credentials, the user cannot log in to the portal or applications.
Deleting a User Account
The Delete Account operation is available for an administrator.
To delete the user account, perform the following steps.
Steps
· Log on to the EdgeOS System. The home page appears.
· Click the menu icon. The menu appears.
· Click Manage Accounts.
· The User Account Management pop-up window appears. see Figure Delete Account.
· Select Delete Account.
· To enter data in the respective fields, see table below.
Fields | Description |
Enter Email | Enter the email address to be disabled. The Send Delete Request button becomes available. |
Table Delete Account Fields
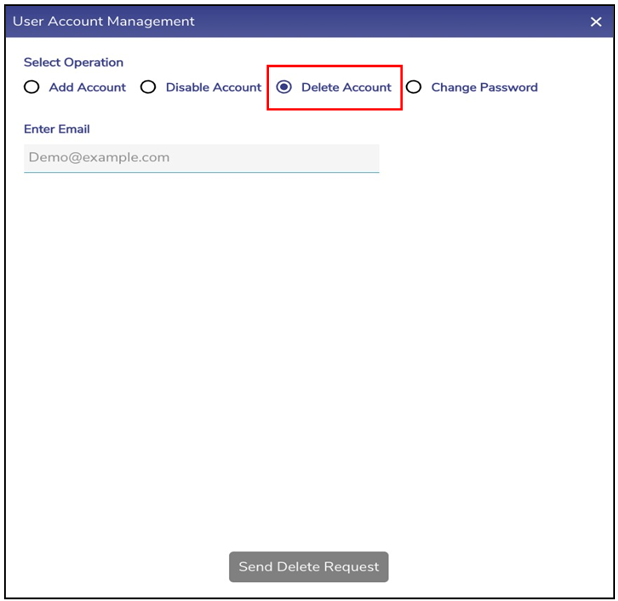
Delete Account
· Click Send Delete Request. The user account will be deleted.
Therefore, using the login credentials, the user cannot log in to the portal or applications.
Changing the Login Password
The Change Password operation is available for all the users.
To change the login password, perform the following steps.
Steps
· Log on to the EdgeOS System. The home page appears.
· Click the menu icon. The menu appears.
· Click Manage Accounts.
· The User Account Management pop-up window appears.
· Click Change Password. The change password section appears, see figure below.
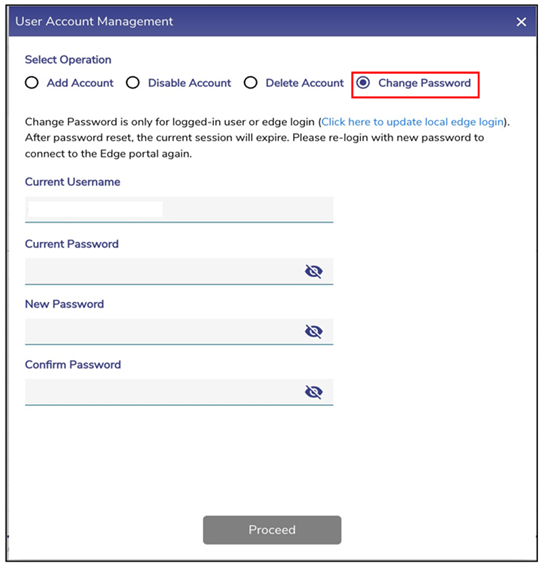
Change Password
· To enter data in the respective fields, see table below.
Fields | Description |
Current Username | Displays the current username |
Current Password | Enter the current login password. |
New Password | Enter the new login password. |
Confirm Password | Re-enter the new login password for confirmation. The Proceed button becomes available. |
Table Change Password Fields
· Click Proceed.
The login password is changed, and a successful message is displayed. The current session ends. Therefore, the user must again log in to the EdgeOS portal using the new login password.
Changing EdgeOS Login Password
The EdgeOS Change Password operation is available for administrative users only.
To change the login password, perform the following steps.
Steps
· Click on Click here to update local EdgeOS login, see Figure Change Password. The EdgeOS Account Password Management Pop-up appears, see figure below.
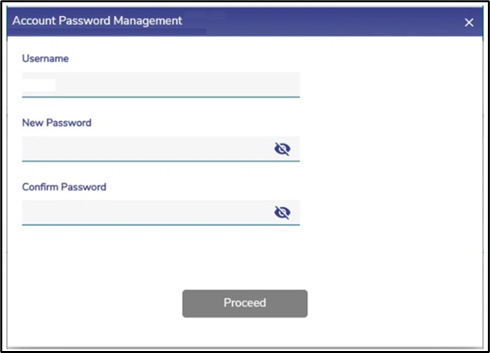
EdgeOS Account Password Management
· To enter data in the respective fields, see table below.
Fields | Description |
Username | Displays EdgeOS Username. |
New Password | Enter New Password. |
Confirm Password | Confirm the New Password. |
Table Change Password Fields
· Click Proceed.
The EdgeOS Account password is changed. If the user has logged in with EdgeOS login, then the session is closed, and a re-login is required to access the EdgeOS Portal.