
How To: Use VoIP Services on EdgeOS
Keywords: EdgeOS, VoIP
1 Configuring VoIP Services on EdgeOS
EdgeOS supports VoIP service, allowing SIP handsets to register locally through EdgeOS and make inbound, outbound & local extension calls. The SIP service is based on the Asterisk server.
1.1 SIP Service Configuration
To configure VoIP, login to the EdgeOS and follow the below path:
Menu → Configuration → General Settings

Figure 1 General Settings
In General Settings, scroll down to ‘VoIP’ section at the bottom of the page.
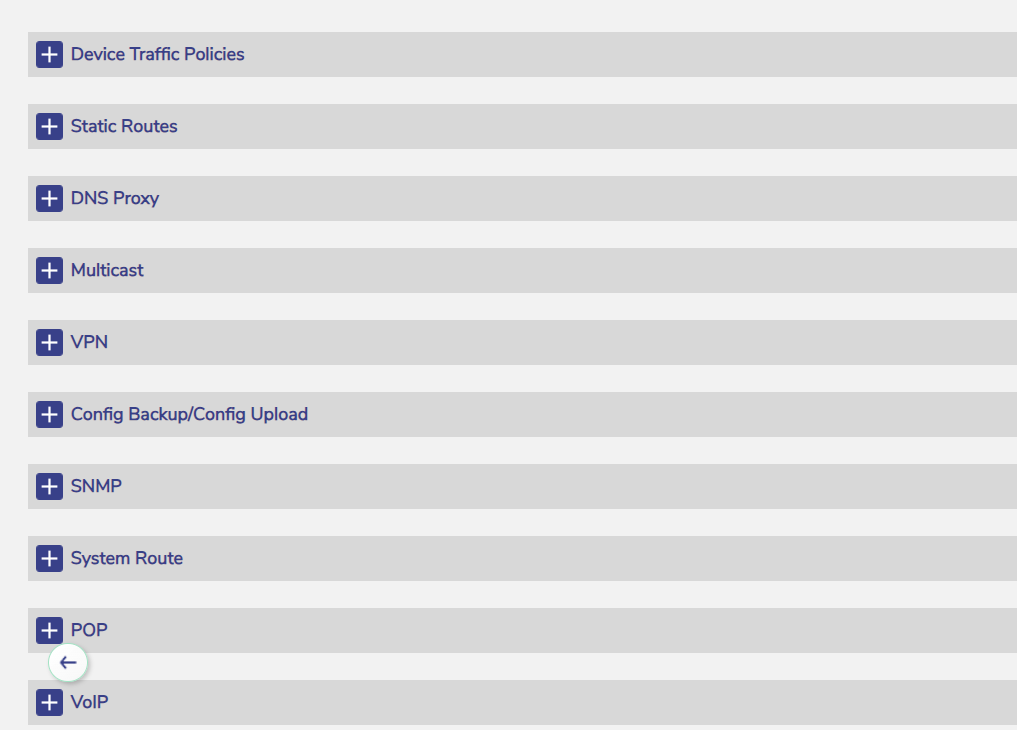
Figure 2 VoIP
Expand the VoIP section by clicking on the '+'.

Figure 3 VoIP Section
In the Select VoIP Settings field, select the Enable option from the dropdown menu. More fields will appear.

Figure 4 VoIP - More options
VoIP service (SIP PBX) can now be configured on this edge server.
There are three primary sections: SIP Trunk, SIP Extensions and CDR. The figure above has the fields configured; however a new system will be clear of information.
The SIP Trunk provider will provide the necessary information to utilize the SIP trunk, then from here the user can configure SIP extensions for local, inbound and outbound dialing.
If the user needs to debug, or analyze the call records, they can enable CDR using standard asterisk output to analyze calls.
The capabilities here align with the RedPort server however, note that this system does support multiple DID with multiple DID assignments possible per extension. Details on the fields, and settings are below.
Once the user has finished configuring the system, click Save for these changes to be applied.
1.2 The ‘SIP Trunk’ section
The information in this section must be obtained from your SIP trunk provider.
The ‘SIP Server Name’ – The ‘Server’ or ‘Gateway’ name (or IP address)
The ‘SIP User ID’ – The username for the connection
The ‘SIP Authentication ID’ – The identity used for authentication and might be the same as the ‘User ID’
The ‘SIP Authentication Password’ – The password to be used
The ‘DID Numbers’ – The telephone numbers assigned to the SIP trunk. If someone dials any of these numbers, the call will arrive at this edge server.
1.3 The ‘SIP Extensions’ section
In this section, we configure telephone extensions for the EdgeServer PBX.
Click ‘+' to add a new extension.
Click the ‘Pencil’ icon next to an entry to edit it.
The 'Trashcan’ icon next to an entry to delete it.
Check ‘Ring’ if the user wants this extension to ring when one of the DID numbers (see above) is called. Extensions that don’t support inbound calls should not have a DID assigned, and thus will not Ring.
The DID numbers can be set from the ‘DID Numbers’ pulldown. Note that these numbers are set/provided by the prior SIP Trunk section.
Check ‘Out’ if the user wants outgoing calls for this extension.
In the ‘Extension’ field, specify the extension telephone number (2-4 digits in length – cannot start with 0 or 1).
In the ‘Caller ID’ field, specify the caller-ID to be displayed when a call is made from this extension.
In the ‘Password’ field, specify a password that, along with the ‘extension’ number, will allow the configuration of SIP Phone using this extension.
The ‘Description’ field is an alias for the extension.
1.4 Advanced Settings
The Advanced Settings section provides additional configuration options for VoIP settings. It provides finer control over how calls are processed and logged, optimizing the VoIP system for specific operational needs. It includes:
Call Settings
Codec Settings
CDR and Logs

Figure 5 Advanced Settings
1.4.1 Call Settings
Enter the Country Code - Defines the country dialing code (e.g., +1 for the U.S.).
Enter the International Dialing Prefix - Specifies the prefix used for international calls (e.g., 011).
Enter the National Dialing Prefix - Sets the prefix for national calls (e.g., 1 in the U.S.).
1.4.2 Codec Settings
Allows selection of audio codecs used for VoIP calls, such as μ-law, A-law, G.729, G.721, and G.722.
Ensures compatibility and quality of voice transmission based on network conditions and VoIP provider requirements.
1.4.3 CDR and Logs
If the user wants CDR records, enable the toggle button in the Generate CDR field.
If the user enabled CDR generation, they will get an option to download the CDR file. Up to 60 days worth of CDR-s can be present in the system. The CDR file (in CSV format) can be downloaded by clicking the Download Report icon.
Select the Enable Logging toggle button to turn on the system logging for troubleshooting and monitoring.